Mac Virtual Display for Apple Vision Pro [Apple]
 0 Facebook x.com Reddit
Drama occurred on social networks Media assume that you cannot connect Apple Vision Pro to a desktop Mac, such as a Mac mini or Mac Studio. You can, but it's not as simple as connecting a MacBook Air or MacBook Pro. Here's how to do it.
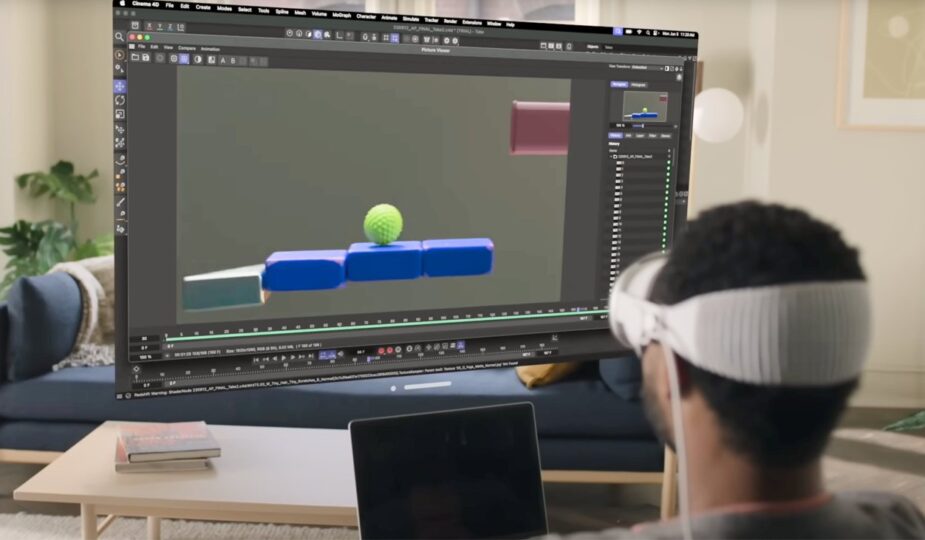
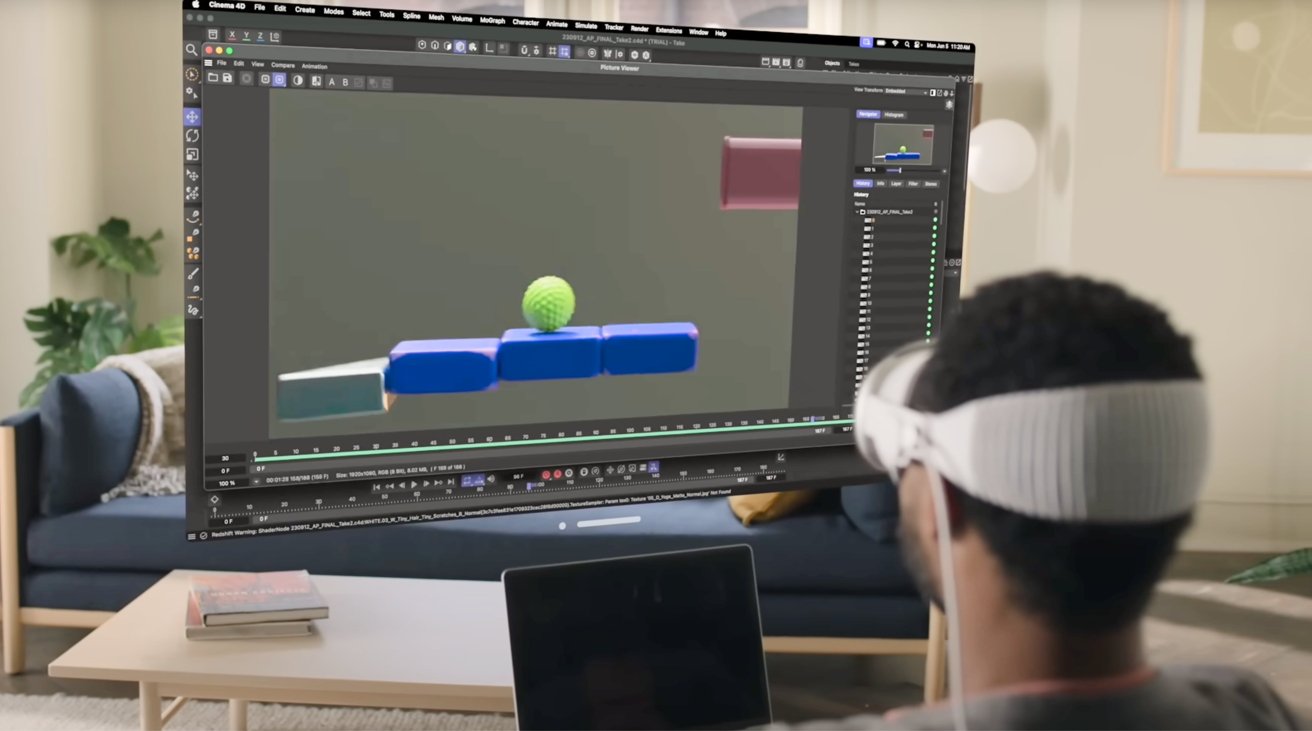
Among the various features of Apple Vision Pro is the ability to show the screen of a Mac or MacBook floating in the air in front of them. While they still interact with the Mac through a pass-through view, they see the display in 3D space, which can also be scaled to be larger than reality.
This feature also allows users to place the display in other parts of their environment, not just in front of the Mac itself.
However, while Apple's ecosystem means that devices are deeply integrated with each other, there are quite a few things to consider about the incredibly convenient Mac Virtual Display feature.
Mac Virtual Display Requirements and Limitations
The first thing to remember is that you need a Mac running macOS 14 Sonoma or later. It will work with both Intel Silicon Macs and Apple Silicon, but it must use the latest generation of Apple's operating system.
Both the Mac and Apple Vision Pro must also be signed in with the same Apple ID. This Apple ID account must also be protected with two-factor authentication enabled.
Wi-Fi and Bluetooth must also be turned on for the connection to work. Apple also says that Internet Connection Sharing should be turned off.
If you're happy with all this, you're well on your way to using Mac Virtual Display, but you should be aware of system limitations.
To begin with, only one display will be shown. If you have multiple screens connected to your Mac, it will only show the one you set as your primary display.
Depending on your Mac's processor, you may also see different resolutions that you can adjust. For Intel Macs, you can have up to 3K resolution transferred, while Apple Silicon Macs can have up to 4K resolution.
Only the image will be transmitted to Apple Vision Pro, but Mac sounds will continue to play from whatever audio output source the Mac selects, such as the Mac's built-in speaker or external connected speakers.
Finally, remember that you can position your Mac's virtual display separately from the Mac itself, but there is a certain range to consider. Apple says the Apple Vision Pro can be positioned up to 30 feet away from the Mac for this feature to continue to work.
Starting to use Mac Virtual Display
There are several ways to run Virtual Display on a Mac using Apple Vision Pro. This depends on whether you're connecting to a Mac, MacBook Air, or MacBook Pro.
How to run an Apple Vision Pro Mac Virtual Display session using a MacBook Air or MacBook Pro
- Open your MacBook Air or MacBook Pro and make sure the display is active.
- With your Apple Vision Pro on, look at the display.
- Click the Connect button, which will appear above the screen.
You can simply look at the display and click Connect to work on your MacBook Pro with Apple Vision Pro.
If you don't see the Connect button or you're using a desktop Mac, such as a Mac mini or Mac Studio, there's a second way to enable this feature.
How to start an Apple Vision Pro Mac Virtual Display session using a Mac mini or Mac Studio
- On Apple Vision Pro and your Mac turned on, look up, then click the down arrow near the top of the screen to display Control Center.
- Click the Control Center's toggle button to display additional options.
- Click the Mac Virtual Display button, which is an icon that looks like a MacBook Pro next to an Apple Vision Pro.
- A list of connected Mac desktops appears. Select the correct from the list.
To end your Mac Virtual Display session, simply click the close button at the bottom of the Mac window to disconnect.
Using Mac Virtual Display
When using Mac Virtual Display, you can change Mac screen size in virtual space by simply pinching and dragging the window bars at the bottom corners of the window. Use the window bar in the middle to move your Mac display around and change the current layout.
To interact with Virtual Display on your Mac, use peripherals that are already connected to the Mac itself. This can include built-in keyboards and trackpads, such as those found on the MacBook Pro, as well as wired and wireless peripherals.
Change these settings to use your Mac keyboard and mouse with Apple Vision Pro apps
You can also use Mac peripherals to control Apple Vision Pro windows and applications that can be very useful for entering text. Essentially, this is an extension of universal control.
How to use Mac peripherals to control Apple Vision Pro apps
- In a Mac Virtual Display session, open Settings, then Display on the target Mac.
- Click Advanced.
- Tap Allow the pointer and keyboard to move between any nearby Macs or iPads.
- Once turned on, move the Mac pointer across the side of the Mac display. and into another Apple Vision Pro window.