 0 Facebook x.com Reddit
How to get the most out of your Mac menu bar by rearranging, removing and adding app icons — with or without third-party utilities.
If you find yourself with an ever-increasing number of small icons on the right side of your Mac's menu bar, you can easily take control and manage them. There is a built-in option for this, or you can increase the size of the menu bar using third-party utilities.
Typically, menu icons are added to the menu bar when a third-party program that uses them is installed. There are also a few default Apple icons that automatically appear on startup.
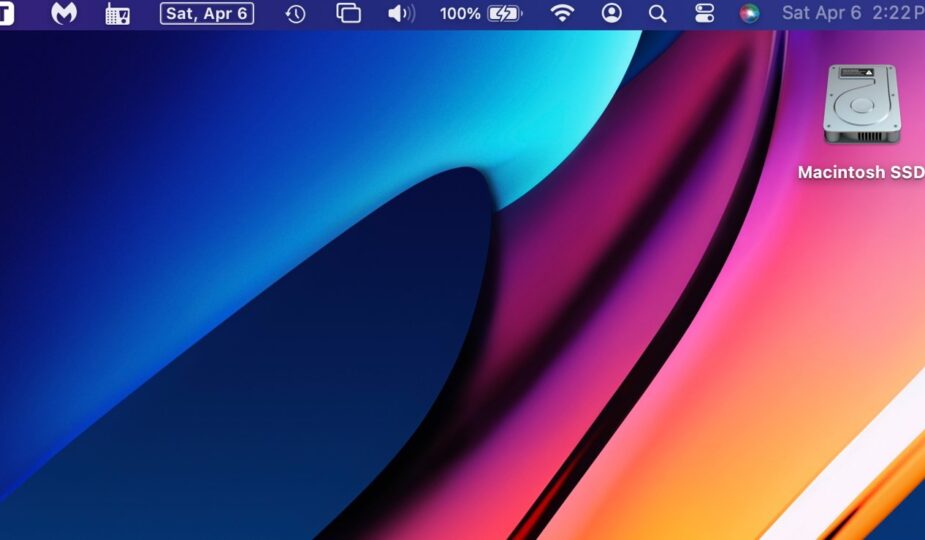
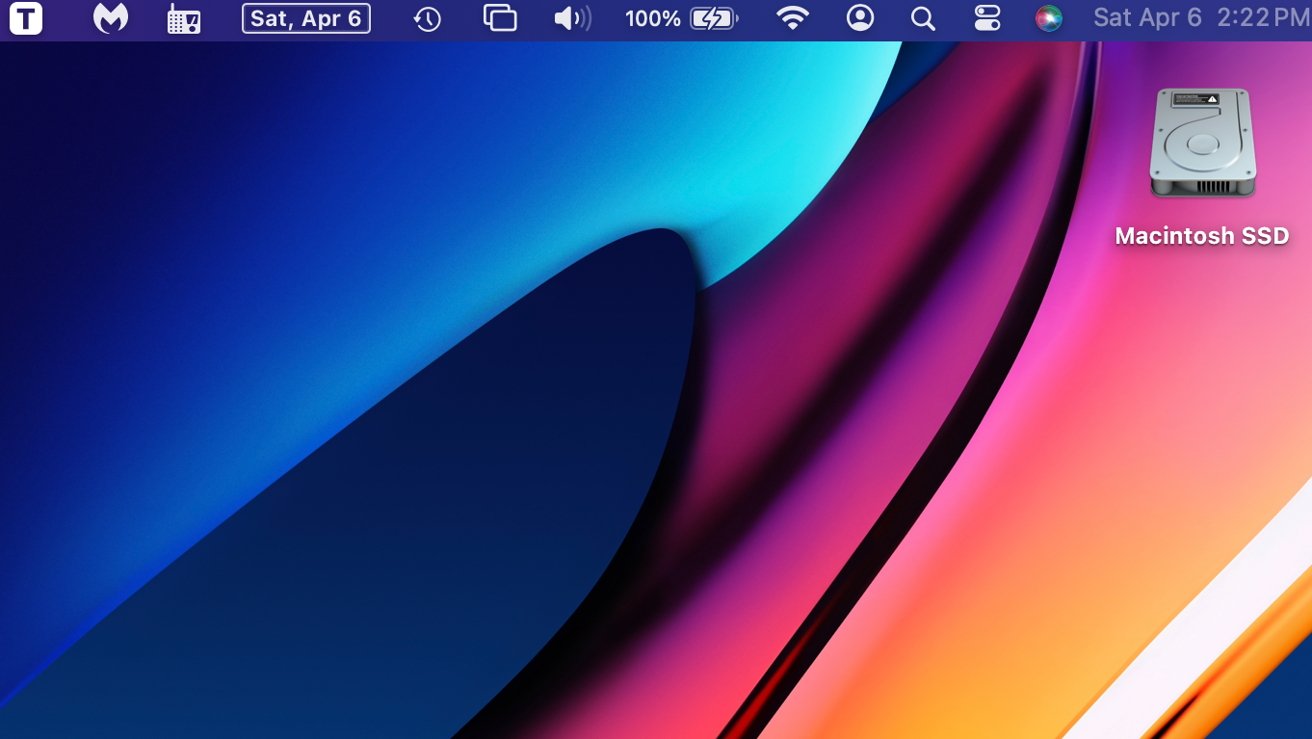
Apple menu icons include time and date, which when tapped display notifications; Siri; Control center; Search and the User icon, which when clicked will display the account you are currently logged into. Wi-Fi signal strength indicator, battery status, Bluetooth controls, volume and sound controls, display options, Time Machine status, and focus mode indicator are also available.
Depending on the size of your screen, it may already feel a little cramped. There are also plenty of third-party menu icons that you can add for convenience. Mini Calendar, Internet Radio apps, MalwareBytes antivirus software, and more offer a convenient icon in the menu bar to always be at the ready.
Managing menu bar clutter
No third party program is required if you just want to reorder or “arrange” the icons in the menu bar. To remove or rearrange menu icons, hover your mouse over the menu icon.
Holding down the control key on your keyboard while clicking on an icon will make the icon semi-transparent. While you continue to hold down the mouse or trackpad button and the command key, you can move the mouse to drag the menu bar icon to a different location on the right side. Release when you are happy with the move.
Similarly, if you hold down the command key and drag an icon from the menu bar to the home screen, an “x” will appear. If released at this point, the menu item will be removed.
If you accidentally remove an icon from the menu bar that you didn't intend to, you can get it back. If it's a third party app, open the app and check in settings for something like “add icon to menu bar” to get it back.
If you accidentally removed a system icon, such as the Wi-Fi indicator, you can add it back by clicking the Control Center menu item. Once opened, simply drag the desired icon back to the desired location in the menu bar.
Bringing the Show menu item back by dragging it from Control Center
Creating an additional menu bar
Of course, there's only limited space on the right half of the menu bar for app and service icons. This is especially true on Macs that have a notch for the camera and microphone.
If you try to fit too much. menu icons on a Mac with a “cutout”, the unnecessary ones may appear “behind” the cutout and become inaccessible. However, there is a solution to this problem.
If you do not have enough space for the necessary menu items, Bartender 5 can help. The $16 utility is also available on Setapp and offers more controls for menu items.
The floating bar below the menu bar eliminates any cutout limitations.
For example, it can combine several additional menu bar items under one icon. It can also hide lesser-used items or place a full panel of them directly below the system menu bar so that they are not subject to any restrictions.
Bartender 5 offers a number of other options for managing menu icons, as well as style and color options if needed.
A variety of color and style options are available.
Please note that the latest version of Bartender only works with macOS Sonoma based on Apple Silicon or Intel. Poppies. Earlier versions are available on the developer's website for Mac computers running older versions of the OS.
Of course, using Bartender to rearrange menu icons is much faster and easier, but even if you do it manually, it's worth it. This space is limited, but it's always at your fingertips, so whatever you're doing on your Mac, these menu icons give you immediate access to the tools you need.
Follow AppleInsider on Google News.