A guy who calls himself a big Apple enthusiast and a “designer and tinkerer”; has created a meticulously accurate 3D printed Macintosh Plus.
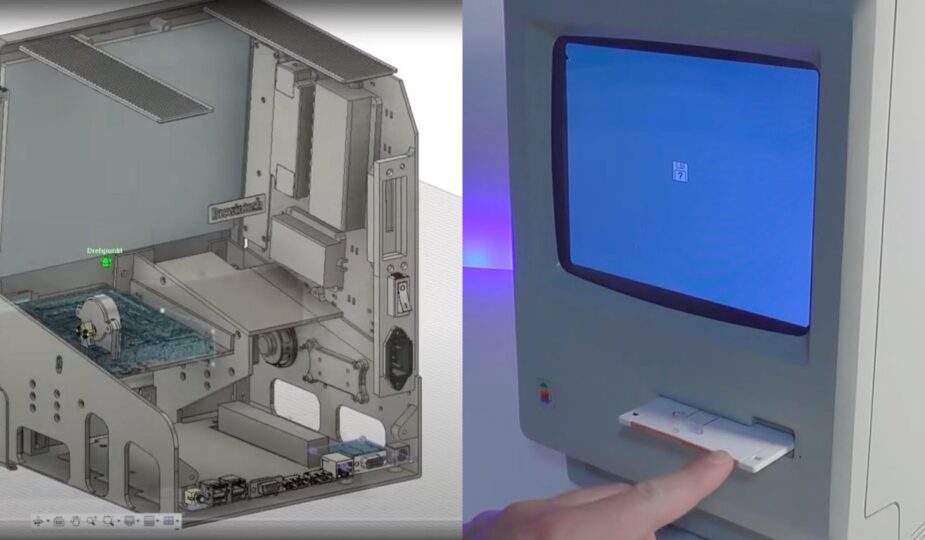
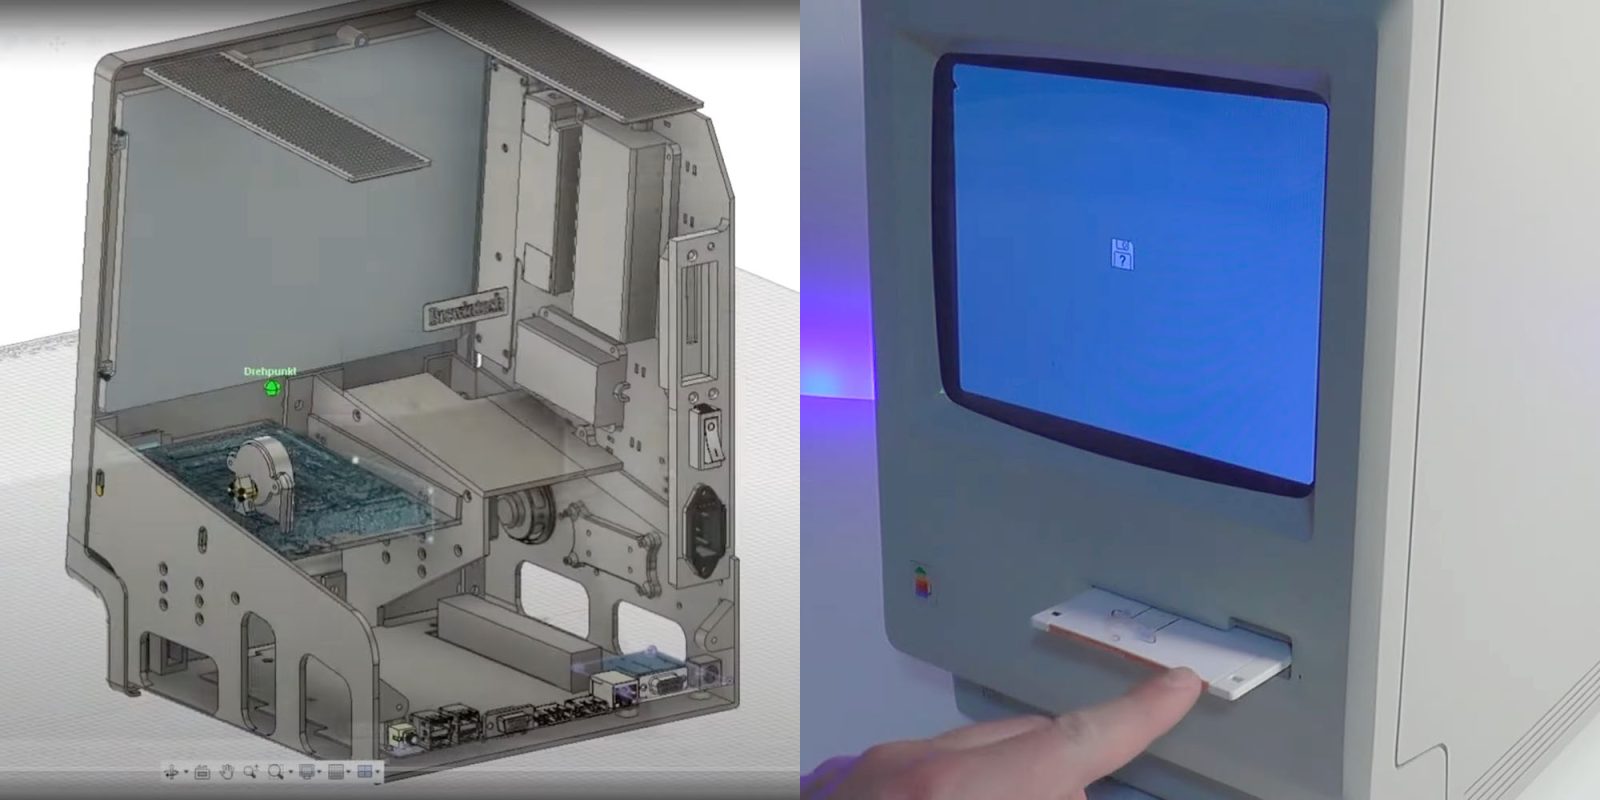
With what has been described as “Steve Jobs-like attention to detail,”” it even boots (and ejects) the floppy disk and the monitor remains off until the Mac emulator starts and displays the smiling Mac icon …
ArsTechnica's Kevin Purdy writes lyrically about his awe and admiration for the project.
Have you ever worked on a hobby project where modifying and compiling the source code for a Linux-based emulator was perhaps the easiest and most straightforward part of it all?
Kevin Knockey really, really wanted to a working Macintosh Plus with a working auto-eject drive that could boot from […]
Noki, for what he calls “months,” has essentially been working backwards from 2024, using all sorts of tools and maker skills to get back to a functioning 1986 Mac. Not just “classic Mac OS on an AliExpress monitor of the right size”; mind you. We're talking about a box of the right size, color and texture that draws power from the mains, swallows 3.5-inch disks, works with both a phone cable and an Apple ADB keyboard and mouse, has a screen dimmer and makes a startup sound (audible signal). , not a chord). This is not love”; tribute; it's creepy and potentially unnerving.
Here's a list of just some of the tasks he had to complete to pull it off:
- Carefully measure every surface and corner of the Macintosh Plus .
- Recover these measurements and model them in AutoDesk Fusion 360.
- Print a four-piece Mac case using a modified Ender. -3 with gray PLA thread.
- Apply one-part plastic putty and sand the joint surfaces of the housing parts.
- Drill registration holes in the housing parts for the metal pin connectors
- Drill holes in the housing parts for attaching the metal pins
- li>
- Use cyanoacrylate (CA) glue to join the pieces together and sand each piece a few times to expose the 3D layers.
- Spray paint with a primer and a final beige color on the pieces facing outward.
- Use a vinyl cutter to protect parts of the case that should be smooth.
- Apply textured clear coat to imitate the rough texture of a Mac.
- Take apart 10″ screen that was a thrift store find.
- Replace the CCFL screen with an LED backlight.
- Rewire and solder the dimmer knob to the screen to create a dimming control.
- Unsolder and modify the laptop charging brick to create a power supply.
- Modify the powered USB hub and its AC adapter
- Paint the physical power switch to match the color of its case
- Use WAGO connectors to securely connect power components.
- Disassemble a $13 thin client computer and replace its power connector with the XT60 connector.
- Connect a resistor to supply power. Supply of work with an external adapter
- Replace the thin client's power button with a relay controlled by Arduino.
- Assemble the front keyboard and mouse connector from a Teensy USB board, an RJ11 connector, and TMK keyboard firmware.
- Solder and connect the internal speaker.
- Rebuild a USB floppy drive using a stepper motor controlled by the Arduino (which you programmed) to remove the drives from the software control.
- Create an ADB Peripheral Board with KiCAD design, Teensy board and Arduino Pro Micro.
- Configure the ATtiny85 to control powering the motherboard and screen, as well as playing a startup sound.
- Create a modified Mini vMac Emulator on a Linux system.
- Create your own Brewintosh stereotype with raised text and foil it with laminator.
- Create custom multi-color Brewintosh decals, print them, apply UV resin. for a glossy finish and cure them.
- Create and print a replica of the back of the original Mac.
- Record yourself doing all these steps and turn it into a fun video
Watch the video below and learn more about what went into the ArsTechnica project.
This follows yesterday's report suggesting that the Hackintosh era is coming to an end.